
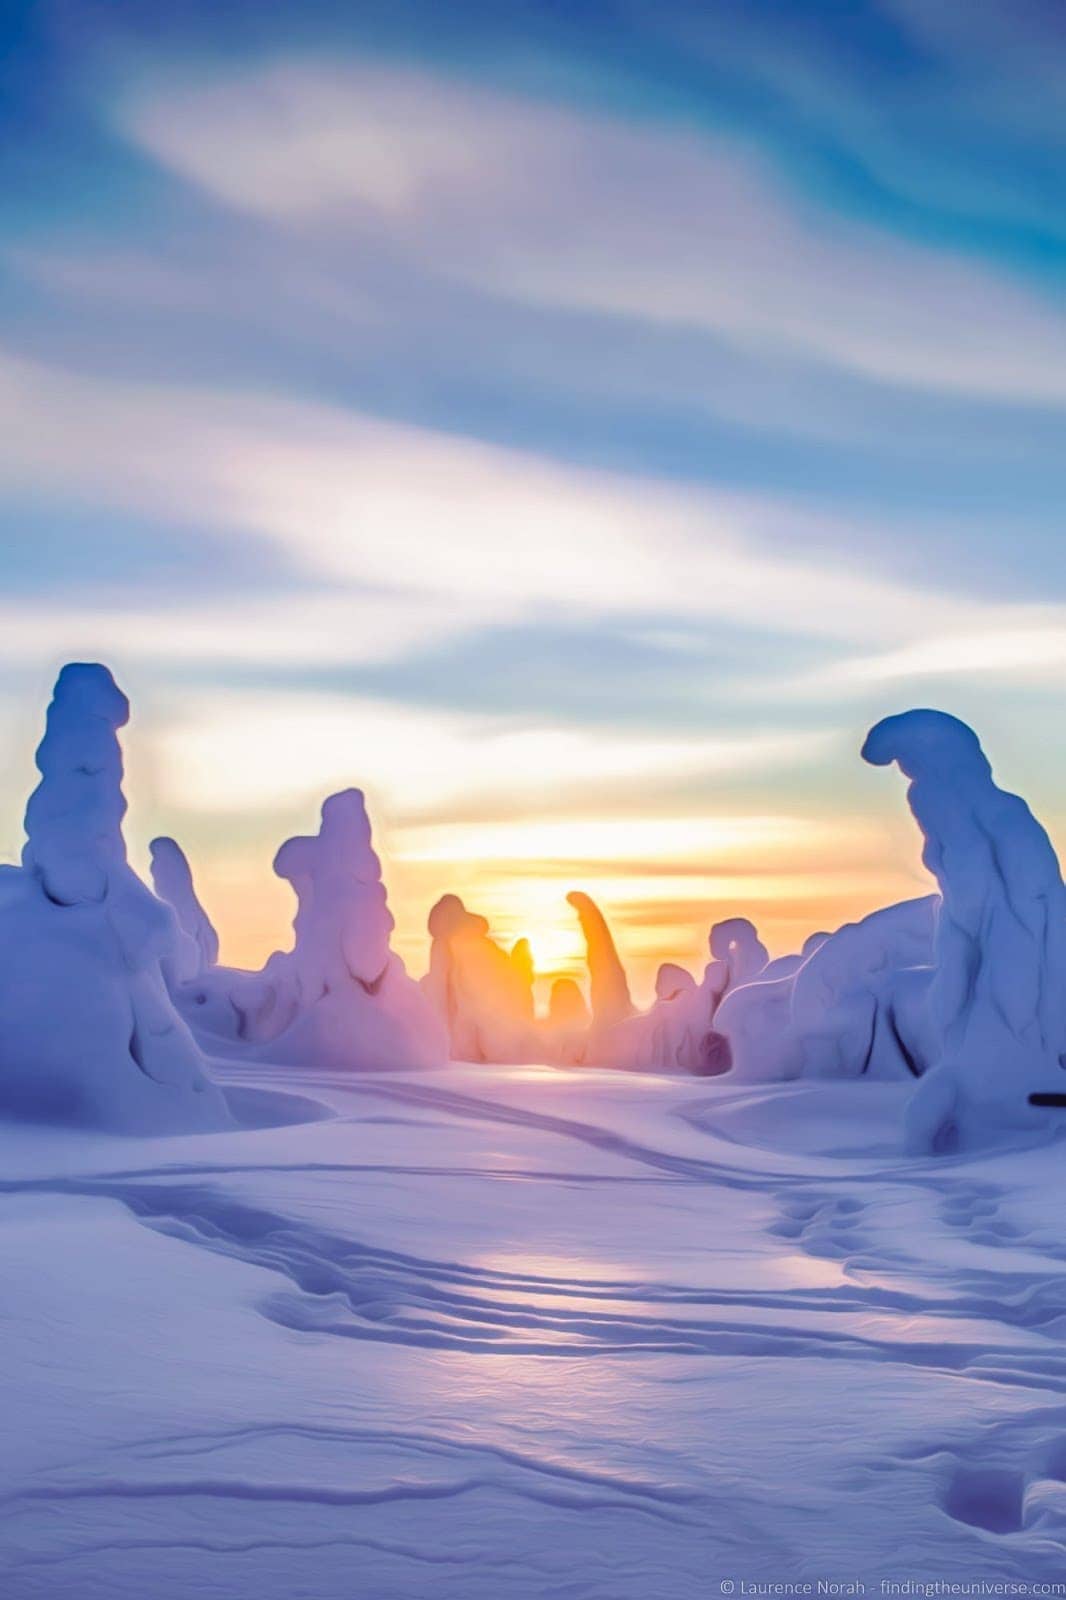
You must first learn to photograph and then develop your creativity. You can then practice until you master it. It is important to learn from your mistakes as they will help you become a better photographer. There are many resources available to help you get started. Here are some: a guide to exposure, shutter speeds, aperture, depth and depth of fields. These concepts are essential for your photography journey.
Exposure triangle
The Exposure Triangle is a visual representation for the relationship between shutter speeds, ISO and aperture in photography. This visual representation explains the three elements and acts as a checkpoint to photographers. Each of these elements is interdependent so any adjustment to one will have an effect on the other. Each of these factors affects how an image is exposed.
Photography is only possible if you understand the exposure triangle. It will be second nature once you have mastered the exposure triangle. You will eventually learn how to get the perfect exposure without worrying about it.
Shutter speed
When beginning to photograph, shutter speed should be considered. This will affect the speed of your subject's movement and the lighting in the scene. For action shots, sports photographers usually use a shutter speed 1/1000. A 1/250 shutter speed is sufficient for pets and kids, who are often slow to move. Blur is an undesirable side effect and faster shutter speeds can create blur.
Shutter speed is an important aspect of photography because it will affect the way images are exposed. A fast shutter speed can prevent overexposure from resulting in blown-out images. It will allow you to freeze motion, which can be used to create sharp images.
Aperture
It is important to be able to understand the basics of aperture and how it can be adjusted in photography. You can control the depth of the field and the color in your photograph by changing the aperture. You can improve your photographs by learning how to use this tool with different settings and situations.
Photography's exposure triangle includes the key element of aperture. As with shutter speed and ISO, learning the basics of aperture will help you capture better images and get more creative. This video will teach you how to control the fundamental parameter.
Depth of field
Adjusting the aperture is the first step to controlling the depth of field in a photograph. An increase in the aperture will result in a shallower field. A decrease will result is a deeper one. The aperture is the opening that allows light through the camera lens.
The f-stop numbering on your camera is a confusing concept when you first encounter it, so it is beneficial to learn about the relationship between focal length and lens opening. It will be easier to choose the appropriate aperture for different situations if you have a better understanding of this relationship.
Camera modes
For beginning photographers, there are many camera modes that can help improve their photographs. You can also use different settings to achieve different results. Understanding which setting is best for you will allow you to take better photos. Landscape mode works best when shooting large-open landscape scenes. Portrait mode is better for taking headshots or other scenes with lots moving parts. Generally, landscape mode will allow you to use a smaller aperture, which allows you to capture more of the scene in focus at once. It allows you to freeze movement with a faster shutter speed.
An alternative option for beginners is manual mode. This allows you to choose shutter speed, ISO and aperture manually. Manual mode can be especially helpful for shooting fast-moving subjects, such as birds in flight. It also works well for capturing motion in clouds and moving water.
FAQ
What equipment do I need to get started in digital photography?
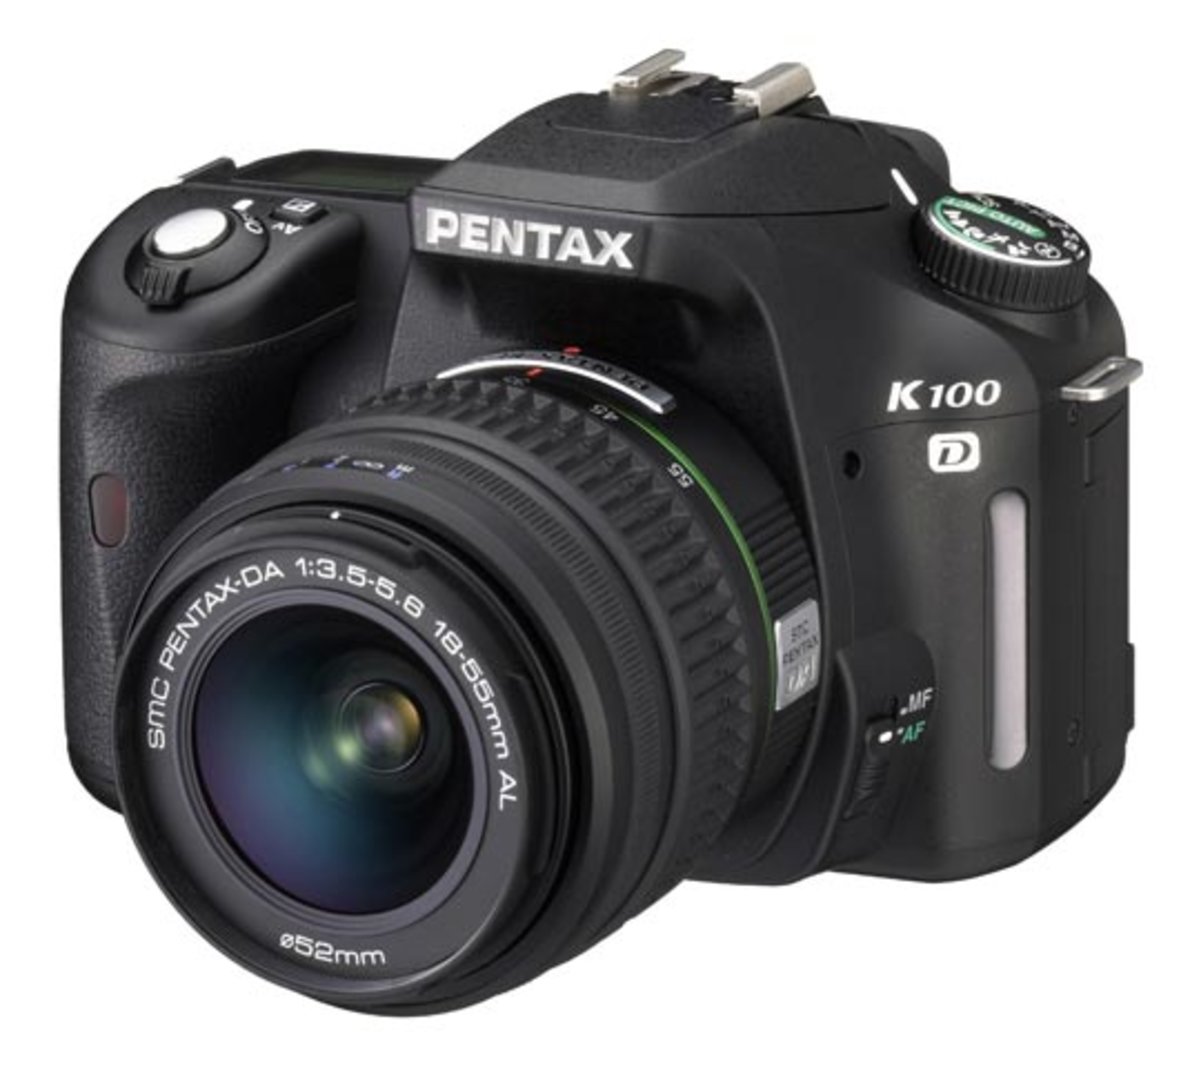
If you are just starting to get into digital photography, the most important thing is to choose which camera you would like. There are many options available, including DSLRs (digital single-lens reflex cameras), compact point-and-shoot cameras, camcorders and smartphones. Each has its own benefits and features. DSLR cameras, for example, offer superior quality images but are heavier and larger than other types. Point-and shoot cameras are smaller, lighter and have more automatic settings. Camcorders provide excellent video recording capabilities and may also feature still photo shooting modes. Smartphones are lightweight, portable, and light. They offer excellent image quality, advanced features, such as GPS mapping, music playingback, and Internet browsing.
After you have decided which type of camera you want to purchase, you need to decide if you prefer to buy a new or used model. You can find affordable used cameras, particularly if you bought them in the last few years. Because of the large amount of money that manufacturers spend on new technology, older models are more expensive.
Next, you will need lenses. Lenses play a key role in determining the quality of your photographs. They let you adjust the focal length to zoom in and out of the scene, without losing focus. Some lenses come with built-in flash units while others need external flash units. A wide range of lenses is available from various brands, each offering unique characteristics.
You will also need memory cards. Memory cards save pictures taken with your camera. It can hold hundreds to thousands of photos, depending on how big your card is. You will need multiple memory card if you plan on taking many photos.
Which Lenses Are Best?
The most popular question that beginners ask is "What lens do I need?" The choice is difficult because of the many options.
The good news? You don’t have to purchase a completely new lens for every new camera you buy. Instead, you can add lenses later on.
Here are three types you might be interested in.
-
Wide Angle Lens (14mm to 24mm): These lenses allow you to see more of your subject from a wider angle. Zooming in can be done without affecting image quality.
-
Standard/Normal Zoom Lens (28mm-70mm): These lenses let you change the focal length while still maintaining excellent image quality.
-
Telephoto Zoom Lens (70mm-200mm): These lenses can be used to capture distant subjects. They let you focus on your subject even though they appear small in the frame.
These lenses can also be combined to produce different effects. For example, you could use a normal lens to shoot close-up details and switch to a telephoto lens to capture far away objects.
Should I start photography as a hobby?
Photography is a great way of capturing memories and sharing them with loved ones. Photography allows you to see the world from a different perspective.
If you are interested in learning how to take better pictures, there are plenty of resources available online to help you do just that.
It may be worth looking into classes at community colleges and art schools. This will enable you to make connections with other photographers who are able to give valuable feedback.
Statistics
- Get 40% off Adobe Creative Cloud(opens in new tab) (creativebloq.com)
- There are people out there who will pick at flaws they can only see in 100% crops of your photos. (wikihow.com)
- While I cannot prove that all of those spots were not sensor dust, the photo was taken during a heavy snowstorm…so I guess that 99.8% of the spots are snowflakes. (bhphotovideo.com)
- This article received 13 testimonials, and 100% of readers who voted found it helpful, earning it our reader-approved status. (wikihow.com)
External Links
How To
How to capture pictures under low lighting conditions
Low-light photography refers to taking photos in dimly lit or dark environments. It requires special equipment. The main challenges include controlling exposure, white balance, and sharpness. Two types of low-light photography exist: ambient or flash. Flash photography works best when there's enough light around. If there isn’t enough natural lighting, you will need to use a flash. You might need a flash if your subject is outside but indoors. You can also shoot at night when the moon is shining. This will give you some beautiful shadows and colors. Another option is shooting at twilight. Twilight occurs when there is still daylight but the sun has set.
Also, you might want to try long exposures. Long exposures allow you to record images after the shutter has been open for several minutes. When the shutter remains closed, the camera records only light that falls on the sensor. This light will continue to fall onto your sensor after a long exposure. The shutter is still closed so no light can enter the lens. Therefore, there is very little movement. Turn off autofocus and autoexposure to ensure you get clear images. You should also adjust the ISO setting prior to you start taking photos. An ISO setting 200 gives you more control over how bright or dim your image appears. Finally, when you're ready to take the shot, press the shutter button quickly. The shutter will close completely. Keep the shutter button pressed down until the last second. To prevent additional light entering the camera, hold the shutter button down. After you've taken the picture, wait a few seconds before releasing the shutter button. This allows the camera to process the image. While your image processing is taking place, you will be able to view your photos on your screen. Once you're satisfied with them, save them to your computer.