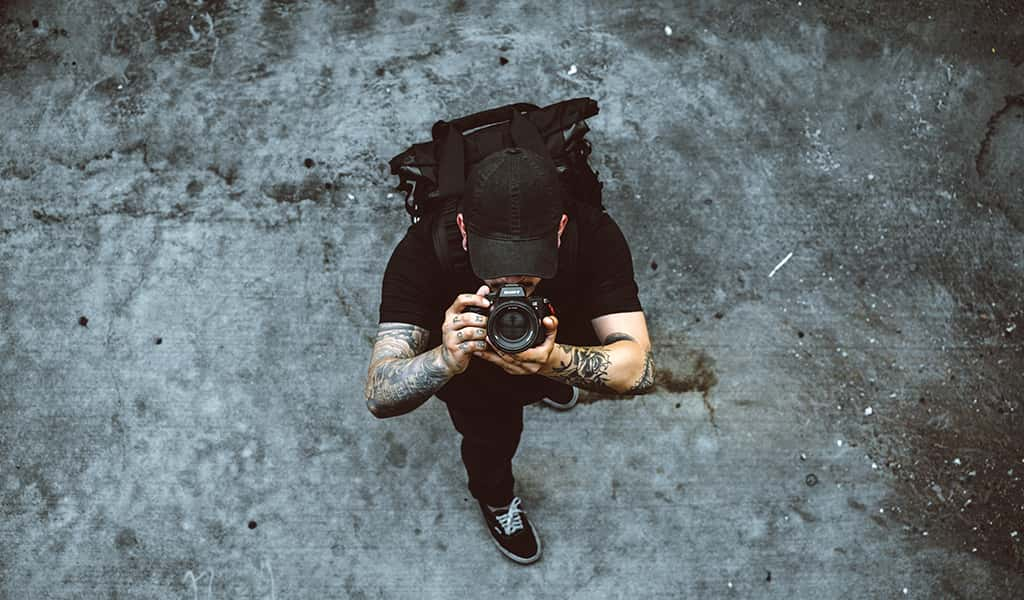
The golden hour is a great time to photograph your subjects. The sun is soft, diffused and there is not much contrast at this time of day. The shutter speeds should also be slower and the light should be brighter. These photo tips will help you capture the best shots of the golden hour. Read on to learn more! You can also download the PhotoPills mobile app to help you plan your shooting sessions.
PhotoPills app makes it easy to plan for golden hour.
PhotoPills is the best app for beginners to astrophotography. The app has basic planning features, including exposure calculators, depth of field tools, and a calendar that shows meteor showers. It includes video tutorials and a detailed user guide that will help you use all the features. If you're still unsure, you can even get in touch with PhotoPills support team to get help.
Natural light is soft, diffused and with little contrast
Soft light casts long, diffuse shadows when it is low. Photography can create illusions thanks to the low angle of sun. These characteristics make natural light ideal for portrait photography. Photographing next to a window can help you capture the golden hour of artificial lighting. These are some tips for making the most of your photos. Use the natural light of your local area to your advantage!
During the golden hour, shutter speeds should be slower
During the golden hour, shutter speeds should be longer. Because of the lower light levels, the shutter speed can also be extended. This allows for more details to be captured in still subjects. Another great feature of the golden hour is the orange hue of the sunset. Try experimenting with the composition and color of the horizon if you wish to capture a landscape at the golden hour. You will avoid the problems associated with low light photography.
Use sidelight to create an illusion of a halo
Sidelight is a great way of adding texture to your photos and creating a halo effect during golden hours. While you may have to be more careful with your exposure, you can still get the desired effect. You must remember that the golden hour changes from day to day. Keep a tripod around and test the exposure settings to prevent this.
Using spot metering to create a halo around your subject
Overexposing is the biggest mistake photographers make when taking golden hour photos. It is better to use spot metering in golden hour. Underexposure in these situations is beneficial as it provides more detail and allows you to do less post-processing. The result is a picture with a warmer, more balanced tone.
FAQ
Which camera is best for beginners?
The best camera to use for beginners is dependent on your needs, budget, and skill level.
A point-and-shoot camera is a good option if you want to save money. These cameras offer good quality but aren't very versatile.
Digital Single Lens Reflex (DSLR) cameras can be equipped with interchangeable lenses that enable you to shoot different types. These are typically more expensive than point-and-shoots, but they provide much greater flexibility.
A beginner's kit for beginners is a good place to start. Everything you need, including a flash, tripod, memory card and camera body, will be included in the one-pack.
Make sure to purchase extra batteries.
How can I look great in photos?
It is best to take your own photos to ensure that you look good. You'll learn how to pose for the camera, what angles are flattering, and which ones aren't. Additionally, you'll learn how to use lighting and props in order to enhance your natural beauty.
You'll learn how to find clothes that fit and make up that looks great on your skin.
We will also help you retouch your images using Photoshop or another editing software, if you are not satisfied with the results.
Take some self-portraits.
What can I do to improve my photography skills with my phone?
Photography doesn't have to be expensive. With just a smartphone, you can capture amazing images.
It's easy to get started with the software.
There are many apps to help you edit and share your photos on both Android and iOS.
Here are five tips that will help you start taking better photographs.
-
Set Up Your Camera App. Your camera application should be already installed on your device. If it is not installed, you can download it from Google Play.
-
Use effects and filters. You can alter the appearance and feel of your photo using filters and effects.
-
Adjust the exposure. You can adjust the exposure to control the brightness of your photo.
-
Use the Right Lighting The brighter the light, the easier it is to see details. Low light photography allows you to capture shadows and highlights.
-
Take Pictures Of People. You can share the things that you love most by taking photos of others.
You can learn more about how to capture better photos by checking out our article, 5 Tips To Improve Your Photography Skills on a Smartphone
How do I become a good photographer?
Photography is an art form that requires patience, dedication, passion and dedication. Photography is a passion. You will be able to do much more than if your goal was to make a buck.
You need to learn how to use your camera properly. Understanding composition, lighting, exposure and depth of field are all important. Also, you will need to be able to use Photoshop.
It is hard to master photography, but it is worth the effort.
To improve your skills, you can read books and attend classes. You can also participate in competitions. You will gain confidence and experience, which can lead to improvements. What equipment do you need?
It really all depends on what type of photography you enjoy. For example, if you are interested in landscape photography, you will need a wide-angle lens.
If you are into portrait photography, you must invest in a telephoto lens.
A tripod is essential for photographing. It allows you stand up and compose your photo without moving.
A camera bag is useful for carrying your camera, memory cards, and other accessories.
If you have a compact digital camera, a flash unit will be necessary.
A DSLR (Digital Single Lens Reflex) camera is by far the best choice for beginners who want to take professional quality photos.
DSLRs are great because they let you control every aspect in your photo including shutter speed (aperture, ISO sensitivity), white balance, focus and white balance. They also provide a range of features such as autofocus, auto-exposure lock, self-timer, bracketing, and RAW format.
What is rule of thirds for photography?
The rule-of-thirds is a simple way to create interesting compositions using no complicated camera settings. It divides the image horizontally or vertically into nine equal pieces. This creates three main areas in which you want your subject. These areas are the top, middle and bottom. These areas can be used as guidelines for positioning your subject within the frame.
The rule of threes can also help you avoid placing important items too close together. They might not have enough space to make an impact on the eye if they are placed close together. If they are placed too far apart, it can cause them to lose focus.
How do I learn to take photos on my own?
If you want to learn how to take great photos, there are many ways to do this. You have the option to buy a book and attend classes, join an on-line community, or watch YouTube tutorials. But if you want to master the art of taking pictures, there's nothing better than doing it yourself! This way you can control what goes into each photograph. And you'll continue to improve as long you keep learning.
In fact, one of the best things about digital photography is that you don't even need expensive equipment. All you need is a computer with internet access and a camera. You can do the rest.
Here are some ways to get started.
-
Familiarize yourself with the manual settings for your camera.
-
Learn the basics of how to use these controls.
-
Make sure to take lots of pictures.
-
These should be edited.
-
These are yours to share.
-
Keep practicing.
-
Experiment.
-
Take a look at the world from different perspectives.
-
Use light sources creatively.
-
Practice makes perfect.
-
You don't have to be afraid of failing.
-
Be patient.
-
Have fun
Statistics
- There are people out there who will pick at flaws they can only see in 100% crops of your photos. (wikihow.com)
- In this case, 100% of readers who voted found the article helpful, earning it our reader-approved status. (wikihow.com)
- By March 2014, about 3 million were purchased monthly, about 30 percent of the peak sales total. (en.wikipedia.org)
- While I cannot prove that all of those spots were not sensor dust, the photo was taken during a heavy snowstorm…so I guess that 99.8% of the spots are snowflakes. (bhphotovideo.com)
External Links
How To
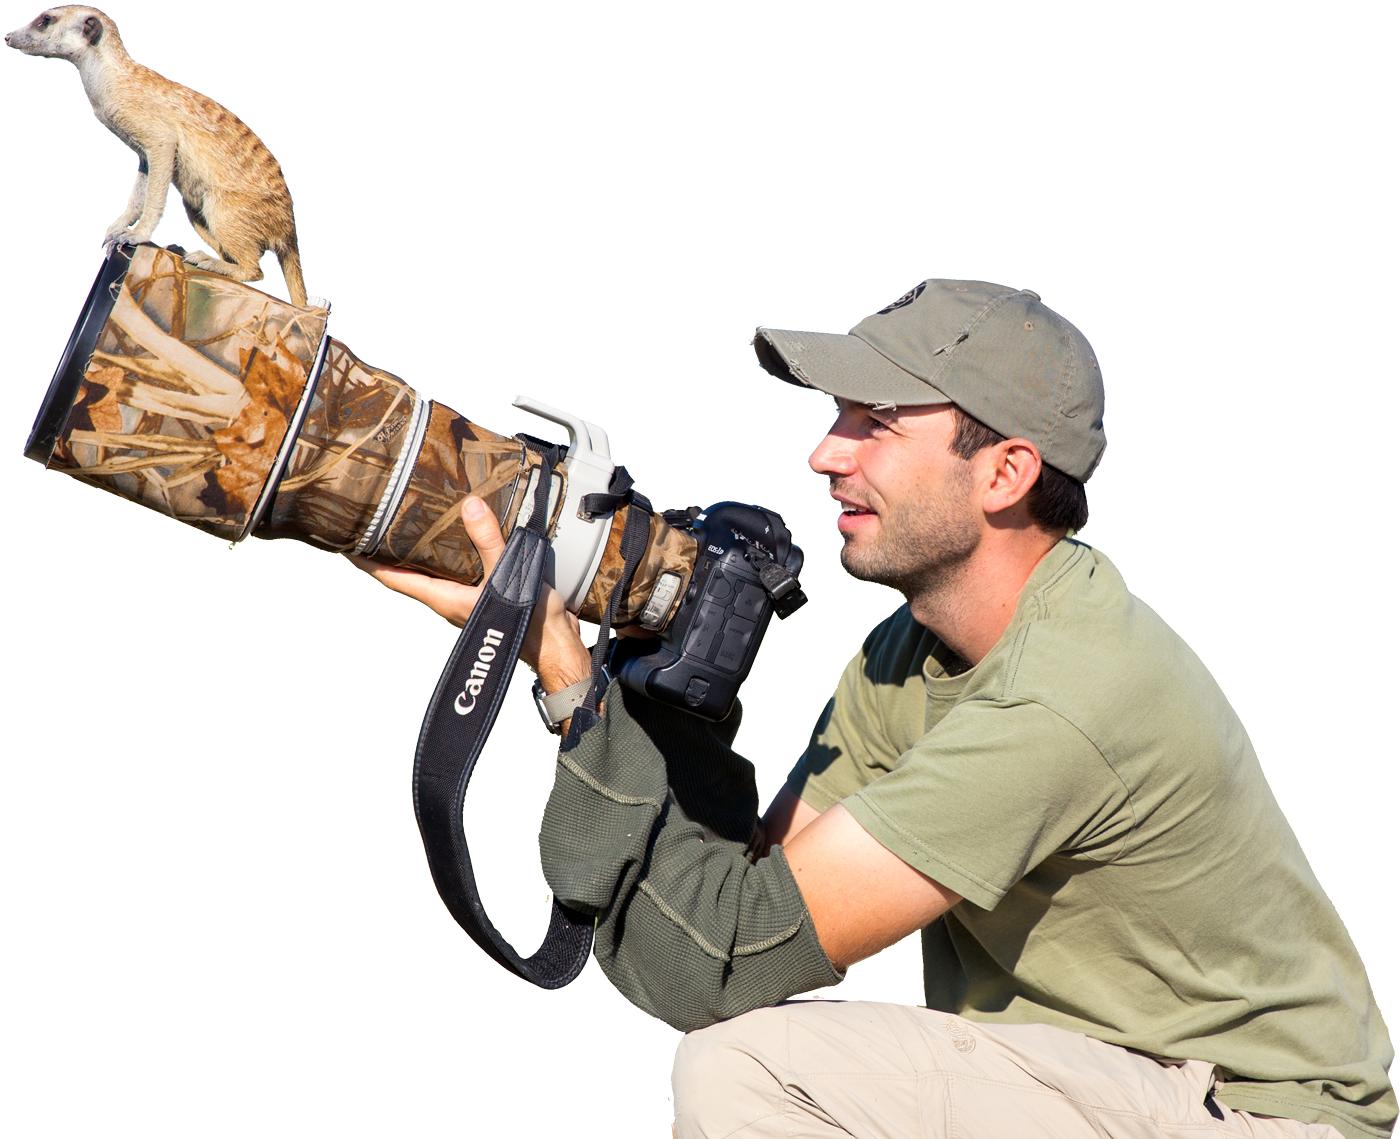
How to take macro shots with photography
Macro Photography refers to the ability take pictures of small objects like insects and flowers at close range. The term "macro" comes from the Greek word makros (makros), meaning large. If your lens has a focal distance greater than 50mm you can photograph objects that are extremely close up.
A macro lens of high quality should have a large working distance and an aperture fast enough to produce sharp images. It is important to avoid motion while taking photos. Anything that moves during exposure may blur your image.
Here are some tips and tricks to make great macro shots:
-
Use a tripod. A tripod is a must if you don’t already have one. This will reduce the chance that you move when trying to take photos.
-
Pick the right lighting. You can get a macro lens with built-in lights filters. However, if you don’t have one, you can purchase one. This prevents excessive exposure.
-
Be patient! Shooting macros takes practice. Even though you might only see one tiny bug or flower at a time, it is worthwhile to continue shooting until you capture it.
-
RAW file format allows you to shoot in it. RAW files have more data than JPEGs. They can store more detail. RAW files allow you to make changes such as cropping, color correction and other adjustments later.
-
Don't forget the background. The background can sometimes add interest to your shot even though it is a foreground item. Try to include it in your photo.
-
Keep learning.