Although the flash can be one the most essential tools in your kit of photography tools, there are many methods to get the best out of it. Here are the top advantages: Better exposure, less red eye, brighter images, reduced risk of explosions and cleaner images. Continue reading to learn the best ways to utilize flash. You'll be amazed at the results! Listed below are the main reasons you should use flash in your photography. We hope this article helps you make the right decisions for your next photo shoot.
Red eye less
The flash should be moved away to avoid redeye in photos. Because the flash is only a few inches away from the lens, this strategy works well. Red eyes are caused by light hitting the lens. Red eyes are less likely to be reflected in photographs if the flash is removed from your lens. It isn't as easy as moving away the flash. Modern cameras include anti-red eyes functions.
Cleaner images
One way to produce cleaner images with flash is by learning how to use it properly. A good photographer has enough knowledge and expertise to use it in the right circumstances. Flash can produce more stunning images than natural lighting if used properly. Here's why. Lighting is an essential aspect of any photograph. Natural light casts green shadows onto the subject. This effect can be removed by flash off-camera. This technique allows the photographer control the lighting.
Better exposure
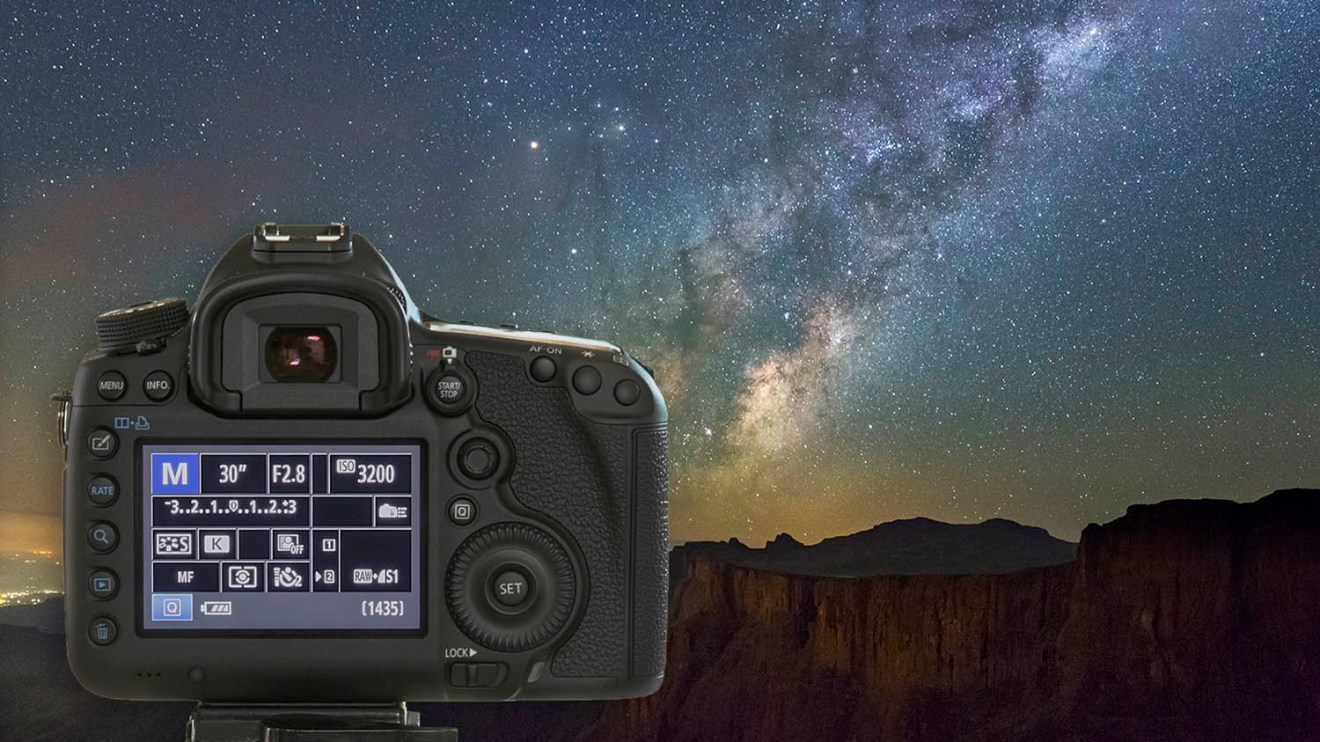
Moving back with a longer lens is the best way to achieve better flash exposure in photography. Photographers should avoid being too close to their subject as this will lead to dark shadows. To get better exposure, the flash needs to bounce off something. Unmodified flash light is very harsh, so photographers should always move back and use a longer lens. This is one method to achieve a better flash exposure.
Explosions at lower risk
Make sure the flash is used in a photo as the secondary light source, not the primary. The flash can be a powerful tool and can cause an explosion if it hits anything flammable. A semi-opaque cloth can be used to soften the flash light from a DSLR camera. Zooming in close to the main light source is another way to reduce the chance of explosions. By zooming in on the main light source, you can capture more of the subject and reduce flash explosions.
Easy to use
There are a few ways to use flash in photography. Another common method is to use flash for underexposure. This means that the subject will appear well lit but the background will appear dark. This is useful when low light situations are present, as you can manually focus the shot and stage it. Sometimes you will need the flash to create overexposure. When taking portraits in bright sunlight, find an overhanging tree or other type of shaded area.
FAQ
Do I Need A Tripod?
This is one of those questions that everyone asks. A tripod isn’t always needed, but it can be very useful.
This allows you to keep your camera steady even when taking slow shutter speeds. If you're shooting landscapes or other stationary subjects, then a tripod can make a big difference.
On the other hand, if you're photographing moving subjects such as sports or people, using a tripod can cause blurriness. What are the best ways to determine which situations you need a tripod for?
A tripod is an essential tool for photographing fast-moving subjects or stationary objects. Examples include:
-
Sports
-
People
-
Landscapes
-
Close-ups
-
Macro shots
This test will help you determine if you need a tripod. Keep your camera still, and then look through the viewfinder. You will need a tripod if you see blurred lines and movement.
A tripod won't make any difference if there is no blurring.
If you do decide on a tripod purchase, these are some things to remember.
-
Smooth legs are important for tripods. This will prevent unwanted vibrations from shaking your lens.
-
Choose a sturdy tripod. Some tripods made of plastic may not last very long. Instead, choose a metal tripod.
-
You may want to consider buying a remote-control device. This lets you control your camera remotely. You can set it to fire the shutter once you press the button automatically.
-
Try to find a tripod with a head that rotates 360 degrees. This allows you to place your camera horizontally and vertically.
-
Be aware that tripods are not cheap. Expect to pay around $100-200. You'll still get a lot for your money.
-
Don't forget accessories such as memory cards or filters.
-
Before ordering online, you should check in your local shops. Many retailers offer free shipping.
-
You can read customer reviews to see what people think of a product.
-
Ask family members and friends who own similar products.
-
Visit forums and message boards to learn about customer experiences.
-
Look online for user reviews.
-
Amazon.com allows you to compare prices, and receive customer feedback.
-
See photo galleries to see some of the creative uses for tripods by photographers.
Is photography a talent or a skill?
Photography isn't a talent, it's an art form that takes practice, training, as well as experience. The art of photography requires years of practice and dedication to mastery.
You need to plan how you will make money in photography.
You need to know what type of clients you are looking for and how you can reach them.
You must know their identity and what they want. You must learn to communicate clearly and persuasively to persuade them to buy your services.
This means you must be prepared to meet potential clients.
You will need to have a portfolio of work before you can approach potential customers. This can be done electronically using software programs or printed on paper.
Once you have created a portfolio, you must look for opportunities to show it off. This could mean approaching businesses directly or advertising online.
What is rule of thirds for photography?
The rule of Thirds allows you to create unique compositions with minimal camera settings. It divides your image in nine equal parts, vertically and horizontally. This creates three main areas in which you want your subject. These are the top (upper left corner), middle (center) and bottom (lower right). These areas can serve as guides to help you position your subject within your frame.
The rule of threes can also help you avoid placing important items too close together. They may not be able to create a strong visual impact if they are too close together. If you put them too far apart, they might lose focus because there isn't much room around them.
Statistics
- That's the easiest way to get blurry photos 100% of the time. (photographylife.com)
- By March 2014, about 3 million were purchased monthly, about 30 percent of the peak sales total. (en.wikipedia.org)
- This article received 13 testimonials, and 100% of readers who voted found it helpful, earning it our reader-approved status. (wikihow.com)
- The second easiest way to get blurry photos 100% of the time is to use a cheap filter on the front of your lens. (photographylife.com)
External Links
How To
How to Take Portrait Photos
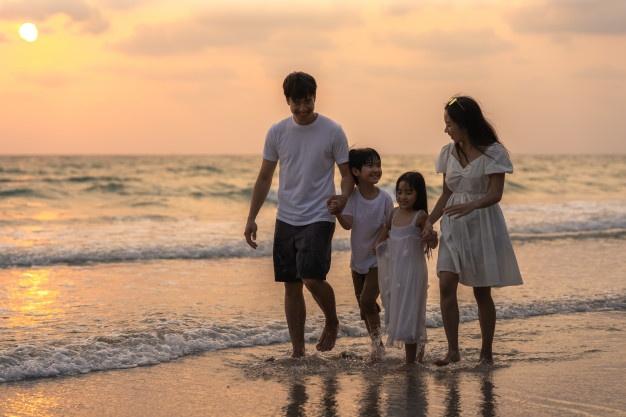
Portraits are important because it shows who you really are. They are also a way to tell your stories. Perhaps you have a favorite image of yourself from when you were younger. But now, you want to capture something more. It is easy to forget how much fun it can be to take pictures. These tips will help you get started.
-
Make sure you have enough light. Photographing portraits in the early morning or later in the afternoon is the best time. If you use flash, make sure there is no direct sunlight shining into your face. This will wipe out any details. Also, don't shoot at noon. You will have too many shadows.
-
Use a tripod. If you are holding the camera still, there will be no movement. It will also prevent you from freezing action. Set up your shot before you use a flash. Next, turn off your flash and then go back to the original shot.
-
Take close-ups. Closeups are great for showing detail. You might find them a little too realistic if your eyes aren't sharp enough. Look closely at people's eyes, mouths, and noses. Is there anything out of the ordinary? Is it possible that someone is wearing glasses? Are there freckles on the nose of someone wearing glasses? These elements add depth to a person’s appearance.
-
Do not force smiles. Smiles can be tricky. Smiles can be tricky. Many people smile naturally when feeling happy. It's not natural to make them smile if you force them. What makes you laugh? Perhaps you laugh at silly things, such as a cat jumping through an hoop. Maybe you enjoy watching paint dry. Whatever it is, keep thinking about it until you start laughing.
-
Be creative. People are often afraid of being boring. But being ordinary isn't bad. Look for ways to break from the norm. Ask someone to pose behind their back with his hands in front. You could also suggest having him wear an amusing hat.
-
Keep practicing. If you practice every day, eventually, you'll become better at capturing moments. As you improve, you'll notice more interesting things happening around you.
-
Have fun! It should be fun to take photos. You'll be more inclined to return to the same process if you enjoy it. You'll likely end up with some truly amazing shots.
-
Share your work. Once you are able to take high-quality pictures, share them. Let them know why you took the photo. Show them where you went. Tell them what you did.
-
Be patient. Sometimes things just don't click. It happens to everyone. Don't worry. You can just move on to another picture.