What is depth and field? How do you achieve the illusion of a blurred background? Depth-of-field is a fundamental property in photography. It's caused by the way light is focused upon a subject. It is important to understand optics in order to appreciate depth of field. Here are some important principles. Remember to pay attention to the Maximum circle and Focal length. These factors can impact the effects of depth in your photos.
The luminous landscape
Two factors are key to determining a photograph's depth-of field. They are total DoF as well as distribution around the focal point. Although both of these factors influence the overall sharpness and color of the image's final result, it is largely determined by how bright or dark the photo will end up being. Wide angle lenses, on the other hand, offer gradually decreasing DoF behind the focal plane. Using a wide angle lens is especially important when taking traditional landscape photographs.
Shallow depth of field
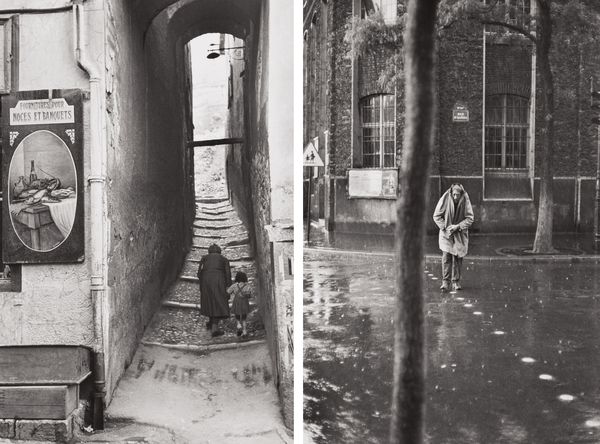
A shallow depth of field can be dramatic when used well. It can draw attention to key parts of the scene, and help develop an emotional arch. Mills is shocked to learn that John Doe murdered his wife, and then placed her head into a wooden box. This revelation becomes even more stunning because of the shallow depth-of-field. The resulting image is one among the most disturbing and disturbing scenes in the film.
Maximum confusion
The maximum circle of confusion with depth of field (or DoF) is the distance a single point of an image is out of focus in an 8x10-inch print when viewed at a distance of one foot. The circle's size increases with increasing f-stop. The DoF limit is not a strict, unmovable line between sharp objects and non-sharp objects. It's a range that allows artists to interpret the images.
Focal length
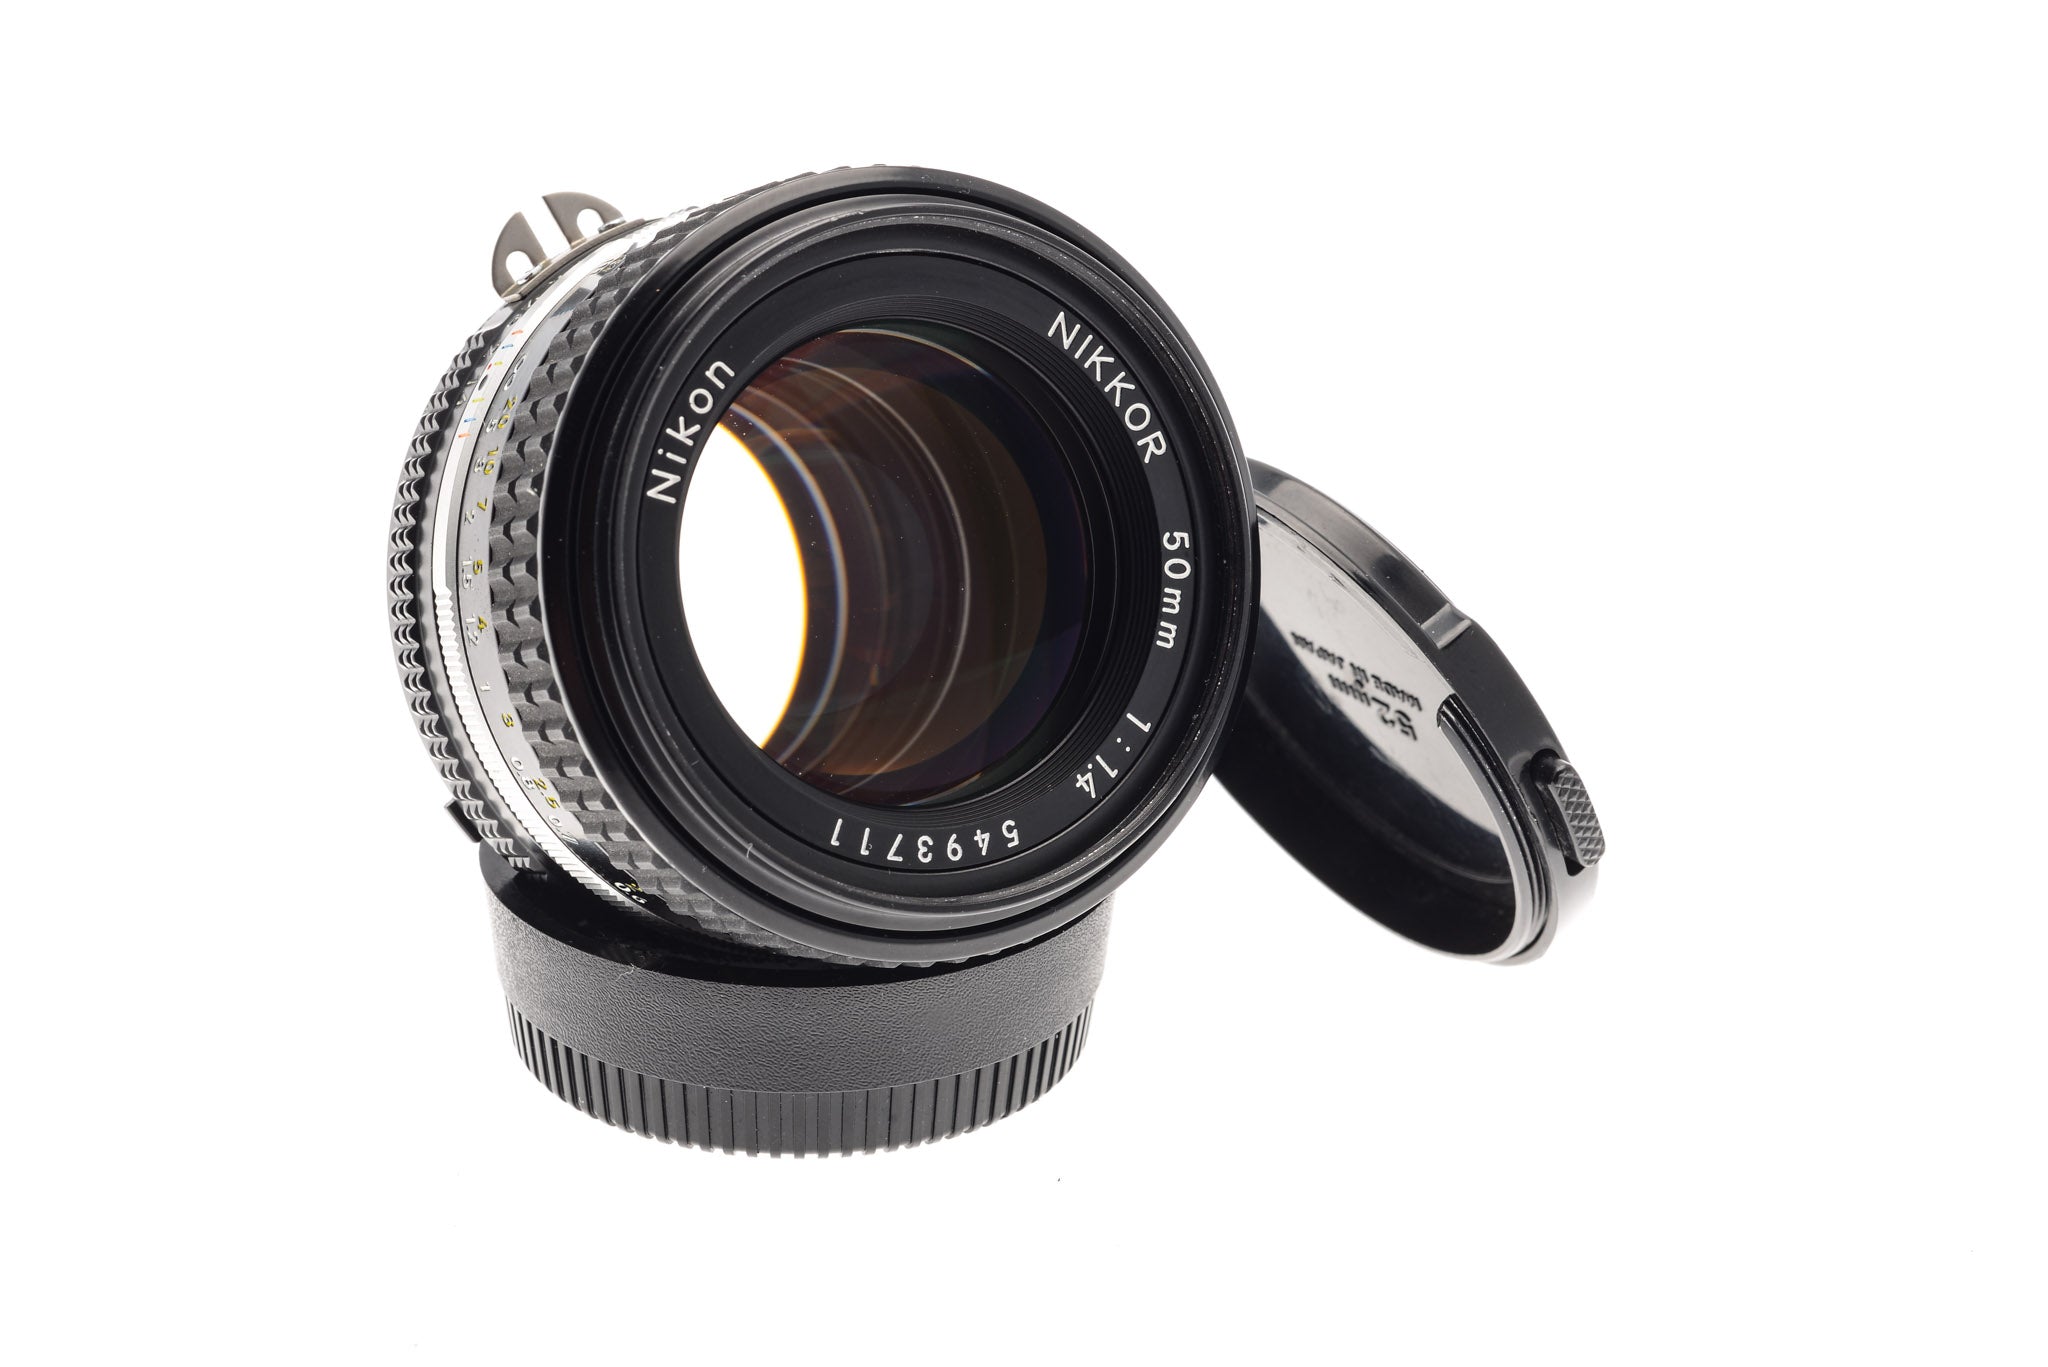
The importance of focal length as well as depth of field are important factors in creating beautiful portraits. The distance between your subject and the camera's depth of field (DOF), is the former. A focal length change will negate both the negative and positive effects, but reduce the latter's impact. The DOF refers to the distance between the subject, camera, and lens. A shorter focal length means that the DOF will be shallower.
Aperture
The depth-of-field in a photograph is determined using the aperture. It is the area that is sharp from one side to the other. Some images have a narrow depth of field, while others have a very large depth of field. It is crucial to choose the right aperture for the scene and the subject. This article will help you choose the right aperture to achieve your desired depth of focus. First, you need to understand what aperture is and how it can be used in your camera.
FAQ
What Camera Should I Get
This all depends on who you want as a photographer. A basic point-and-shoot camera is probably all you need if you're just starting out.
But once you are comfortable with the basics, you will probably need more. The decision is yours.
Before you buy a camera, here are some points to remember.
-
Features: What features will you require? Are you going to use autofocus, manual settings, or both? How many megapixels do you have on your camera? Is there one?
-
Price: What amount are you willing spend on your camera? Do you plan to update your camera every other year?
-
Brand: Is it possible to be happy with your brand choice? You shouldn't settle for less.
-
Functionality: Can you use your camera in low light situations? Are you able to take high-resolution images?
-
Image Quality: How sharp and clear are your images?
-
Battery Life: How long can your camera last before it needs to be charged?
-
Accessories: Can you attach extra lenses, flashes or other accessories? ?
How can I make my photos look beautiful?
Photographing yourself is the best way to make sure you look professional in your photos. You'll learn the best angles to use, how to pose for photos, and how to make them flattering. You'll also learn how to use lighting and props to enhance your natural beauty.
Learn how to select clothes that fit you well, what make-up looks good on you and what hairstyles best suit your style.
We'll also show you how to retouch images with Photoshop or other editing software if you aren't satisfied with the results.
Do yourself a favor and take some self portraits!
Which Lenses should I Use?
The most common question beginners ask is, "what lens should I buy?" Because there are so many options, it can be difficult to choose.
The good news is that you don't necessarily need to buy a new lens every time you purchase a new camera. Instead, you can buy additional lenses later.
Here are three types of lenses to start with.
-
Wide Angle Lens (14mm-24mm): These lenses offer a wide field of view that allows you to capture more detail. You can zoom in, but not lose image quality.
-
Standard/Normal Zoom Lens (28mm-70mm): These lenses let you change the focal length while still maintaining excellent image quality.
-
Telephoto Zoom Lens (70mm to 200mm): These lenses make it easy to capture distant subjects. They allow you to focus on your subject despite the fact that they may seem small in the frame.
These lenses can also be combined to produce different effects. Combining lenses can create different effects. For example, a normal lens could be used to capture small details while a telephoto lens is used to capture faraway objects.
Light Room is a great way to enhance your photos.
To ensure that you get the best photos for your project, it is best to start early. It's always a good idea to take as many pictures as possible and then decide which ones will be the most valuable.
Lightroom makes this possible by showing you how different settings affect each photograph. You can also adjust these settings on-the-fly without going back into Photoshop. This lets you quickly experiment with what looks great and what doesn't.
Statistics
- While I cannot prove that all of those spots were not sensor dust, the photo was taken during a heavy snowstorm…so I guess that 99.8% of the spots are snowflakes. (bhphotovideo.com)
- In this case, 100% of readers who voted found the article helpful, earning it our reader-approved status. (wikihow.com)
- The second easiest way to get blurry photos 100% of the time is to use a cheap filter on the front of your lens. (photographylife.com)
- This article received 13 testimonials, and 100% of readers who voted found it helpful, earning it our reader-approved status. (wikihow.com)
External Links
How To
How to take macro shots in photography
Macro Photography refers to the ability take pictures of small objects like insects and flowers at close range. Macro is a Greek term that means large. You can capture close-up shots with a lens that has a focal length of more than 50mm.
A macro lens with a good working distance should be able to capture sharp images even when you are not moving too much. It is important to avoid motion while taking photos. Anything that moves during exposure may blur your image.
Here are some tips to take great macro photos:
-
Use a tripod. Set up a table or chair so you don’t knock anything over. This will make it less likely that you are moving when shooting.
-
Pick the right lighting. The majority of macro lenses include built-in light filter, but you can buy one separately if necessary. This helps prevent overexposure.
-
Be patient! Shooting macros takes practice. Sometimes you may only see a tiny bug or flower, but it's worth it to keep shooting until you catch it.
-
RAW format is best. RAW files have more data than JPEGs. They can store more detail. Because you can edit the RAW files later, such as cropping or color corrections, they are ideal for editing.
-
The background is important. Even though you've got a nice foreground object, sometimes the background adds interest to your shot. Make sure to include it in the photo.
-
Keep learning.